It always happens at the worst possible time. You’re cruising down the street when your bike stalls or sputters out. Or maybe you go to put the key in the ignition and find it won’t even start. The problem could be with any number of things: the fuel, the engine, the ignition system. Or it could be with the component that many folks (even motorcycle DIY enthusiasts) dread dealing with the most: the electrical system.
Electrical issues can feel more daunting than other problems because often they’re harder to detect. If you have no idea about the electrical wiring of your motorcycle, how can you troubleshoot your motorcycle’s electrical problems?
A motorcycle’s electrical system is complicated. While there’s no getting around that, the good news is that with a little preparation, troubleshooting your motorcycle’s electrical problems doesn’t have to be tough.
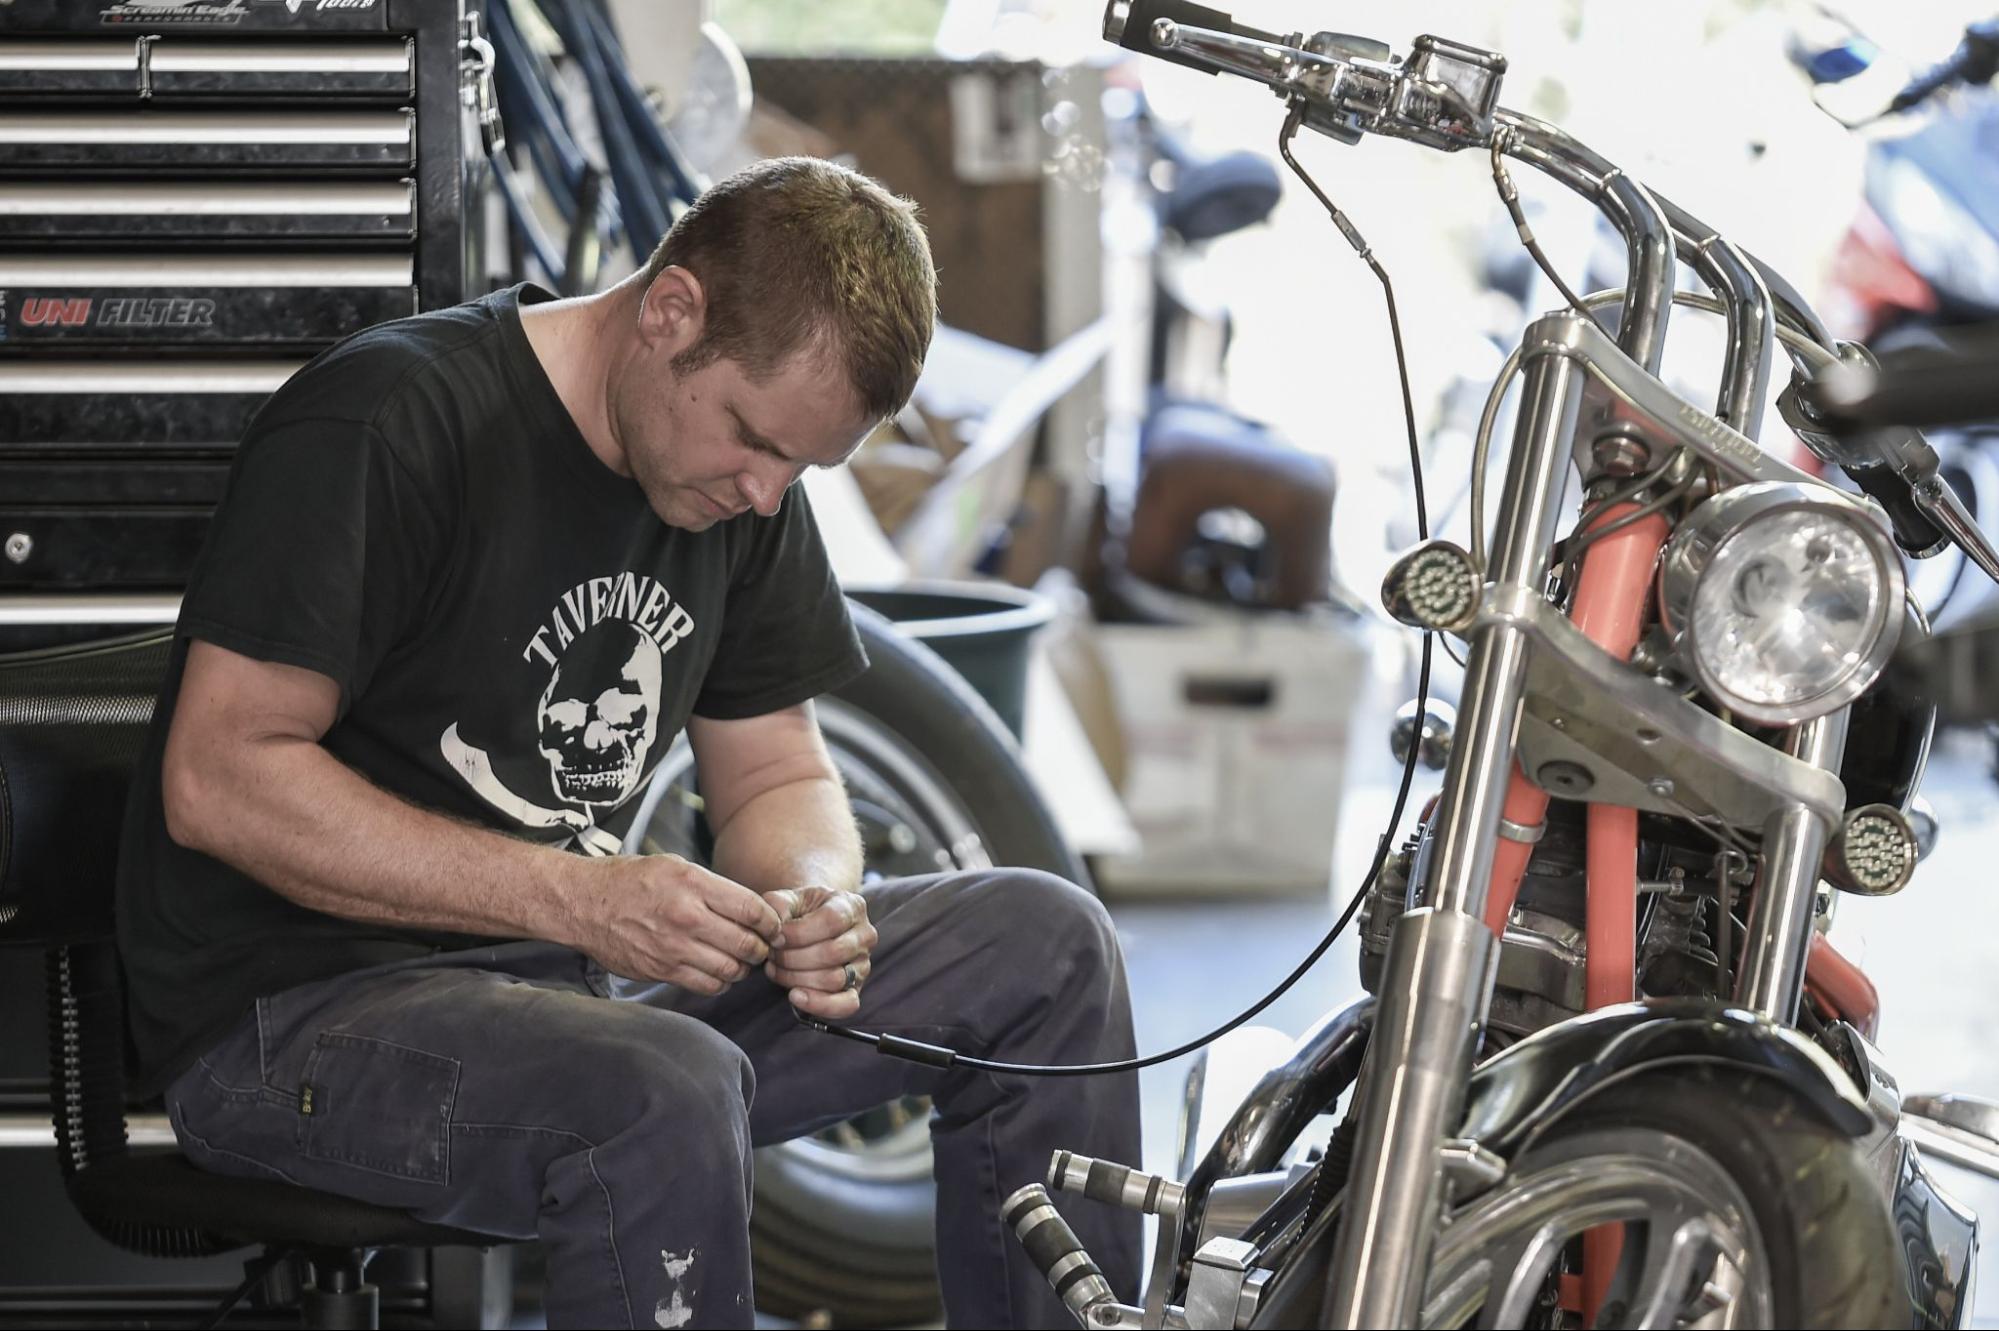
If you’re a complete novice and not even sure how to clean the electric components on your motorcycle, this article will help you get out of a spot of trouble when you need to. For electrical problems that are harder to solve, Taverner Motorsports is ready to help.
How Do Motorcycle Electrics Work?

Let’s get back to basics. For any electrical system to function, it needs three things: a power source, some kind of electrical load and a pathway to ground. If all three of these are present, we have a “complete circuit”. If any one of them is missing or damaged, the electrical system can’t function.
How do motorcycle electronics work? A bike’s electronic system is divided into a selection of circuits. A charging circuit powers the battery via the alternator and the regulator/rectifier. An ignition circuit powers the ignition unit, spark plugs and coils. A lighting circuit switches on the headlight, taillight and the instruments on your dash, and there are smaller lighting circuits for turning signals, warning lights etc.
A motorbike’s electrical system isn’t the same as its charging system; however, they are closely related. The electrical system includes all the elements that require power to function, including the battery, lights, sensors and gauges. The battery is also part of the charging system, which includes the stator and the regulator/rectifier as well. When the engine is on, current flows to the necessary components like the starter motor and fuel injection system.
Just like everything else on your motorbike, your charging system needs maintenance. How do you clean the electrical components on your motorcycle? There’s definitely an art to it. Unplug the connections one at a time so you don’t get them confused. Spray the connections with an electrical contact cleaner, wipe off the corrosion, and make sure they’re clean before you reconnect them. Check that the battery terminals, the alternator etc., all have clean and solid connections. Also, make sure to watch out for wires that are brittle or hard, they might be corroded inside.
How motorcycle electronics work is a massive topic to explore, but learning some basics will help you troubleshoot motorcycle electrical problems when they arise.
Common Electrical Issues With Motorcycles

Battery
When you’re trying to troubleshoot your motorcycle’s electrical problems, one of the best places you can start is with the source of the power: your battery. You can check that the battery has a full charge by seeing if it contains at least 12 volts when the lights and ignition are off. If the battery only reaches 10 or 11 cells even after a charge, it indicates a problem with one of the cells.
If the battery has a full charge with no load on it, you can check it with the ignition on. If a fully charged battery suddenly drops under a load, you’re looking at a dying battery. Engine trouble can also make it hard for the starter motor to turn the engine over. If the battery cables are excessively hot, that’s a sign that this is what’s happening.
Stator
Your battery powers your motorbike, but your stator turns rotating magnetic fields into electricity to supply it. Without your stator, your battery would be flat pretty quickly, so it probably doesn’t come as a surprise that a lot of electrical problems can be traced back to this small generator. To troubleshoot your stator, first, unplug the cable that connects it to the engine.
Make sure your multimeter is on the ‘0hms’ setting, and then check the continuity of the terminal tabs to see if anything shorts to ground. For all three tabs, the multimeter should read under one 0hm. Any more is a sign that the stator isn’t working properly.
Main fuse
Your main fuse drives your bike’s entire electrical system, and a faulty one can show up as a poor performance or even a complete stop. An excellent way to troubleshoot motorcycle electrical problems in advance is to buy a backup main fuse to keep with you while you ride.
Rectifier/Regulator
The rectifier/regulator plays a major part in how motorcycle electronics work, essentially performing two functions. The rectifier part converts power to charge the battery, and the regulator part ensures it doesn’t exceed a safe level of voltage.
To check the rectifier, you’ll need to unplug all of the wires and turn your multimeter to the diode function. Touch the multimeter’s positive lead to the rectifier/regulator’s positive diode. After that, use the negative multimeter lead to test the stator inputs. If the meter isn’t reading anything, plug the negative lead into the positive diode and try the positive lead in each of the stator inputs. You should be getting a reading now. Don’t worry about the numbers. Repeat for the negative diode.
To troubleshoot issues with the regular, attach the meter leads to the battery while it’s still running. It should give you a reading between 13.5 and 14.5 volts. Too high, the battery will be overcharged and too low, the battery will drain quickly.
What Not To Do When Troubleshooting Motorcycle Electrical Problems

There’s a lot that goes into how to clean and maintain the electric components on your motorcycle. But your safety comes first. Here are some things you should never do when you’re trying to troubleshoot motorcycle electrical problems:
- Never work on your bike’s electrical system while the ignition is turned on.
- Don’t leave the battery in when working on anything that needs amperage to operate or has live wires leading to it, like the starter or alternator.
- Don’t depend on guesses. If you’re not sure what the problem is, it’s not worth risking further repairs or worse down the line. Take it to a professional instead.
- Don’t neglect proper insulation and connection. Wires that aren’t insulated or connected can cause electrical hazards like short circuits.
- Don’t ignore voltage ratings. When you’re replacing any electrical components, make sure they have the proper ratings for voltage and amperage.
- Don’t force terminals or connections together. If they’re designed to connect with each other, they will.
If there’s anything you’re not sure about when it comes to troubleshooting your motorcycle’s electrical problems or how to clean your motorcycle’s electrical components, talk to a pro.
Get a Professional to Help At Taverner Motorsports

If learning how motorcycle electronics work and fixing them yourself sounds a bit daunting, there’s nothing wrong with getting help from a professional. As motorbike professionals with 40+ years of experience, Taverner knows how to clean, repair and maintain electric motorcycle components. And that’s just for starters.
As well as servicing every make and model of motorcycle, we offer maintenance and repair work of all kinds, including electrical work. If you really want to troubleshoot your motorcycle’s electrical problems, bring it to us. We have the skills to fix any issue you may be having. We also have a massive range of parts and supplies to suit just about any motorbike, regardless of the era.
To find out more about our electrical services, request a quote, and if you have any questions, contact the Taverner team.